 EZVIZ no longer supports Internet Explorer or earlier versions, and the site may not behave as expected. Please upgrade to a newer browser.

Upgrading to a smart lock is one of the most practical steps toward creating a convenient, connected, and secure home entryway. While installing an electronic lock is often straightforward, reviewing door compatibility and key measurements before starting will ensure a smooth, trouble-free installation.
In this guide, we walk through the 10 essential steps to install a smart door lock, referencing popular models such as the EZVIZ DL05, DL06, and DL06 Pro to help you determine the right fit for your doorway.
Before removing your existing hardware, confirm that your chosen smart lock matches your door structure and environmental requirements.
For example, the EZVIZ DL05 accommodates doors within its specified thickness and mortise compatibility range, while the DL06 and DL06 Pro feature slim profiles specifically designed for slim-profile doors and doors with narrower frames. Always check the model-specific specifications before installation.
Pay close attention to three critical dimensions:
• Door Thickness: Every lock specifies an operable door thickness range to ensure proper spindle and screw engagement.
• Backset Measurement: The distance from the door edge to the center of the handle or keyhole must align properly with the lock body.
• Internal Mortise Cavity: Ensure the internal mortise pocket inside the door stile is deep enough to seat the electronic lock body flush without interference.
Important Reminder: Your door must be properly aligned and latching smoothly before installing a smart lock. Electronic locks cannot correct structural frame warping or sagging hinges.
| Model | EZVIZ DL05 | EZVIZ DL06 | EZVIZ DL06 Pro |
|---|---|---|---|
| Supported Door Thickness | 30 – 110 mm | 30 – 120 mm | 30 – 120 mm |
| Form Factor Profile | Standard Lockset | Slim-Profile Design | Slim-Profile Design |
Most smart lock installations require basic household tools:
• Cordless electric drill
• Phillips screwdriver
• Measuring tape
• Pencil or marker
• Appropriate drill bits and hole saw bit for your door material
EZVIZ smart lock packages include a paper installation template to help position the mounting holes accurately.
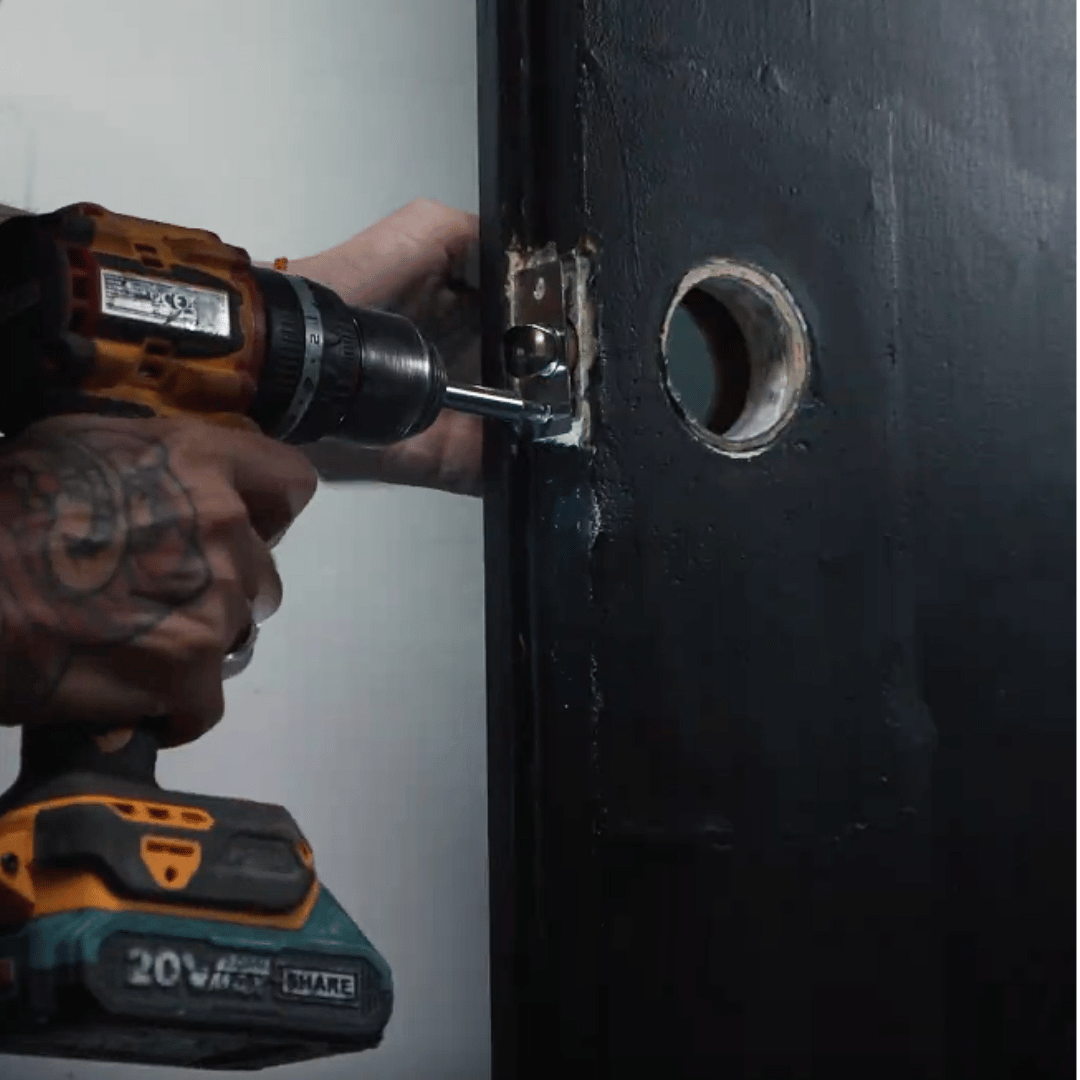
Step 1: Remove the Existing Hardware
Unscrew the interior and exterior handles, remove the lock cylinder, and unscrew the edge faceplate. Carefully pull out the old mechanical mortise to clear the door opening.
Step 2: Test-Fit the Smart Mortise Body
Insert the new mortise body into the door edge slot to verify fit and alignment. If the opening is snug or uneven, trim the door edge slightly before drilling any new mounting holes.
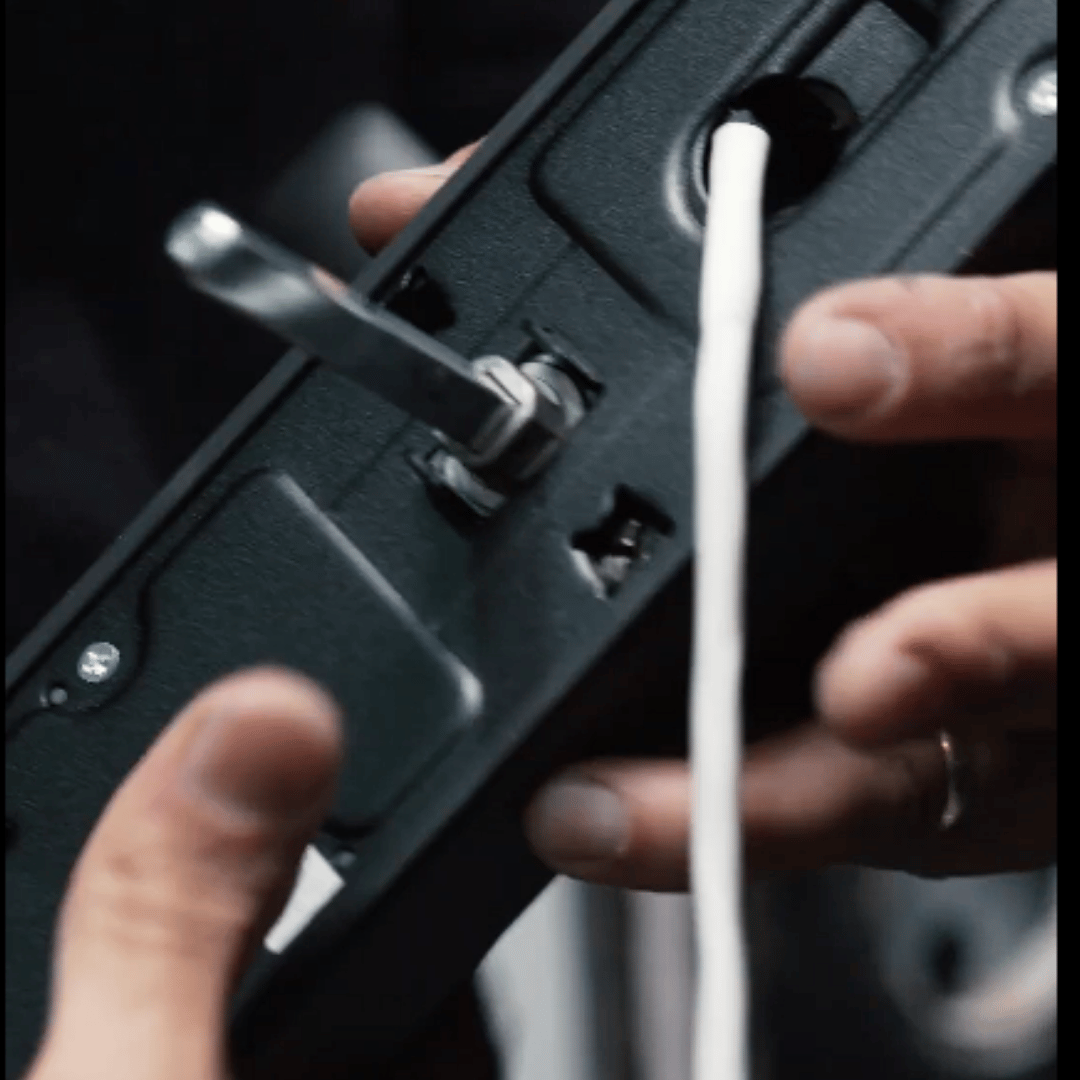
Step 3: Adjust Latch Bolt Handing
The beveled side of the latch bolt must face the door frame in the closing direction. Adjust the latch bolt orientation and mortise configuration according to the installation manual for your specific model and door handing.
Step 4: Select the Correct Spindle Length
Measure your door thickness and select the matching square spindle and connecting screw sleeves from the hardware pack. A properly sized spindle ensures clean handle engagement without binding.
Step 5: Mark Mounting Holes with the Template
Align the template along the door edge, matching your lock body centerline, and mark the center points for cable passages and connecting screw holes.
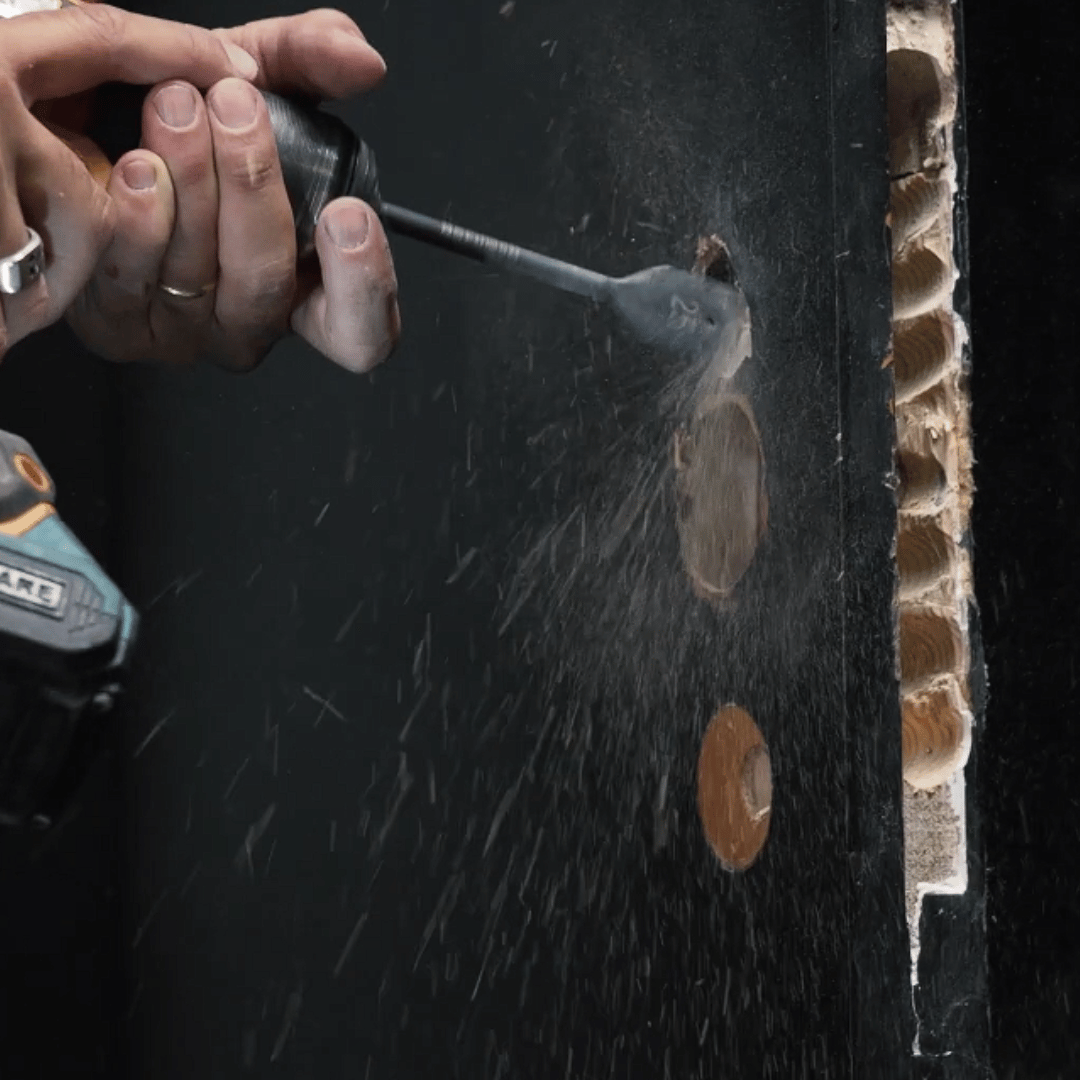
Step 6: Drill the Door
Drill through the marked points steadily from both sides of the door to prevent tear-out or surface damage. Maintain a perpendicular angle throughout the drilling process.
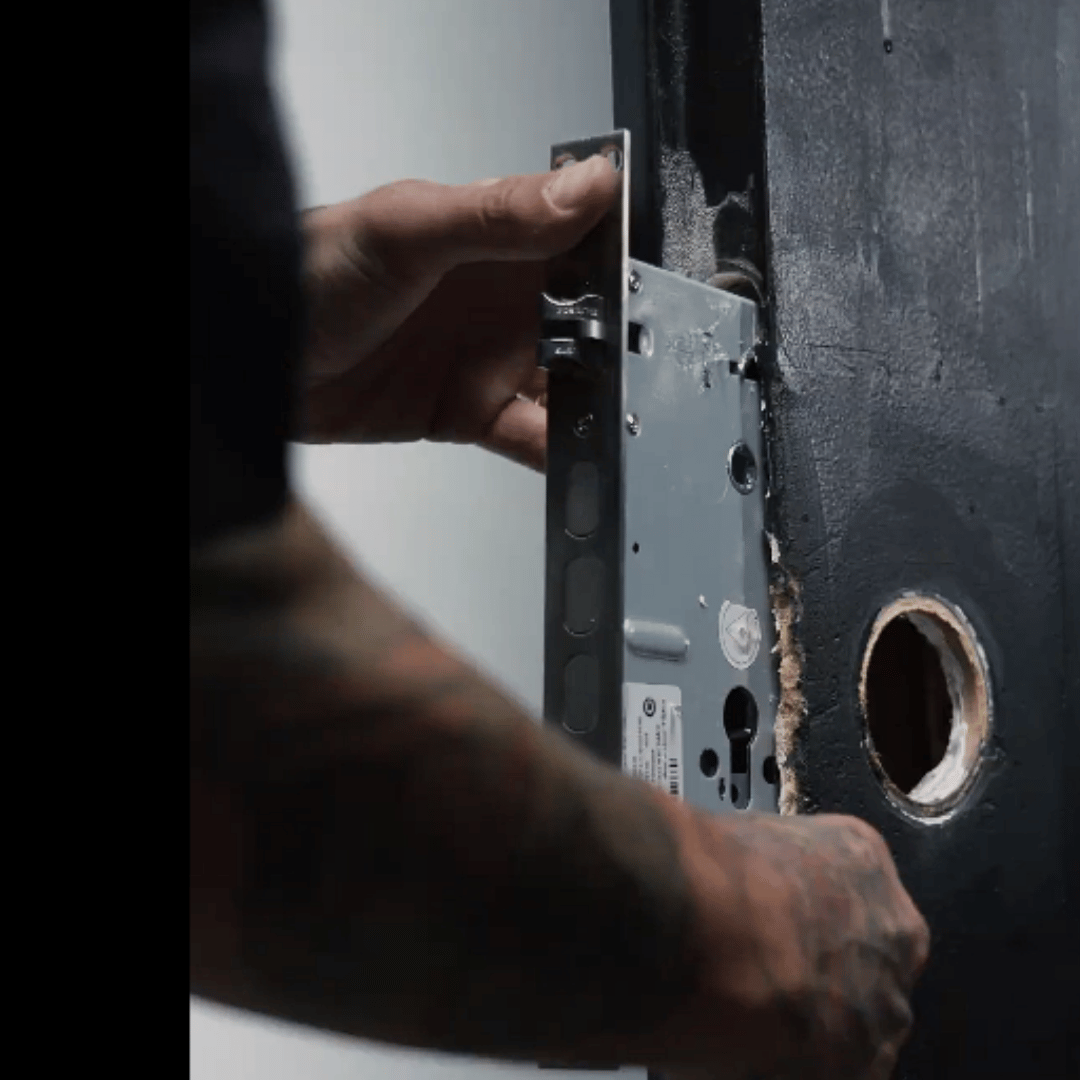
Step 7: Install and Fasten the Mortise
Slide the mortise assembly into the door edge pocket and tighten the mounting screws. Test the latch action manually to confirm smooth movement.
Step 8: Mount Exterior and Interior Panels
Position the exterior panel against the door while guiding the data cable through the designated opening. Connect the cable firmly to the interior unit, ensure wires are not pinched, and tighten the interior fixing plate.
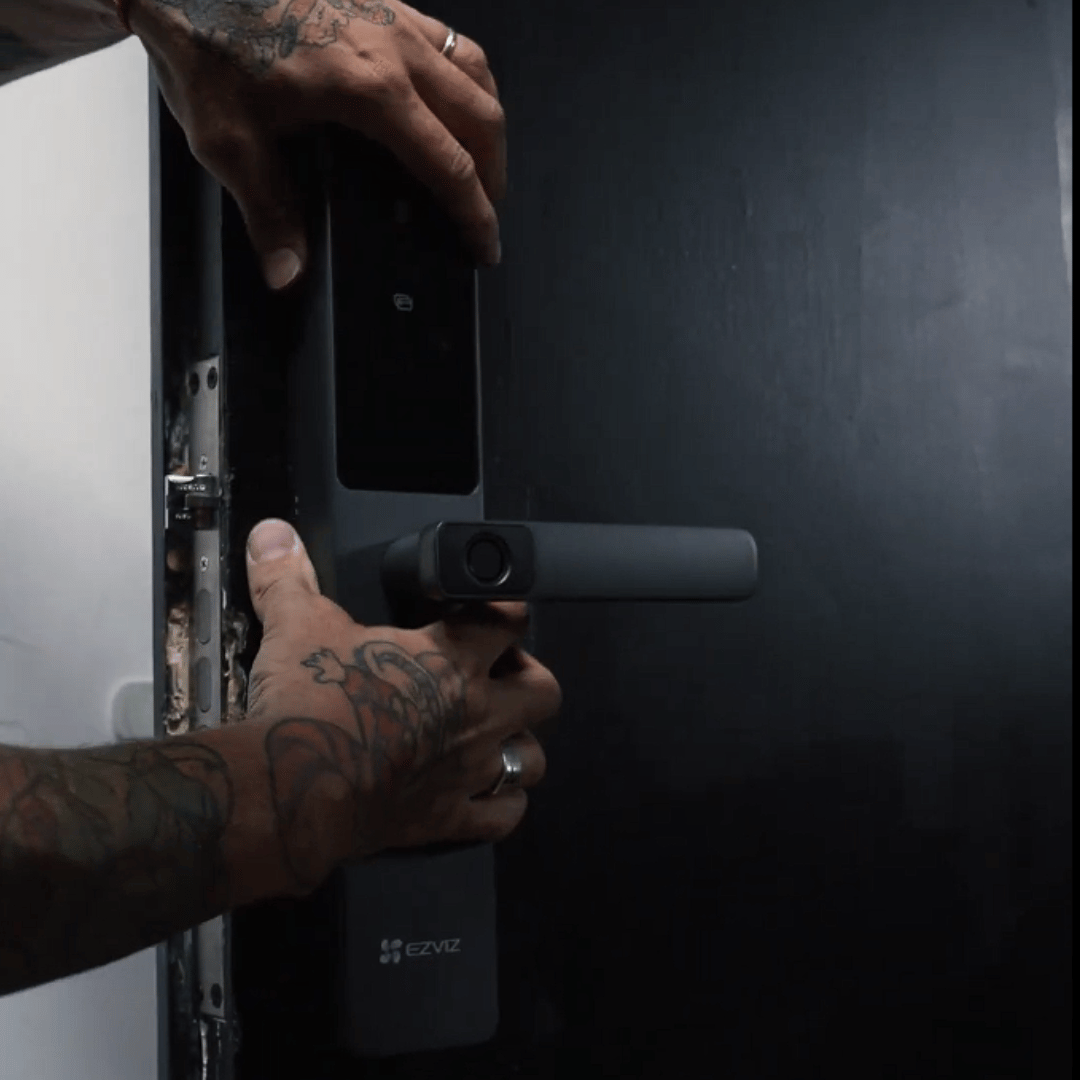
Step 9: Manual Testing with Door Open
Keep the door fully open during this step. Press the handles from both sides to ensure the latch retracts freely. Insert and turn the backup physical mechanical key to verify manual override functionality.
Step 10: Powering On and App Setup
Install the power source specified for your model (for example, 8×AA alkaline batteries on the DL05; DL06/DL06 Pro power options vary by SKU—some use a rechargeable lithium battery pack, others use AA cells—please refer to the official spec sheet for your exact model). Then open the EZVIZ App and follow the on-screen instructions to complete device setup. On supported models, you can register administrator fingerprints, create passcodes, pair RFID cards, and configure real-time entryway alerts.
Homeowners comfortable with basic hand tools and standard doors can often install their smart lock in an afternoon.
However, if your door requires significant mortise enlargement, structural realignment, or custom profile modifications, hiring a professional locksmith or qualified installation technician can help ensure proper alignment and reliable operation.
Not every door is compatible. Installation suitability depends on door thickness, stile width, and frame structure. Standard locks fit conventional entry doors, while slim-profile models like the DL06 and DL06 Pro expand compatibility to slim-profile doors and narrower frames.
In most cases, yes. Smart locks typically require through-holes for connecting cable harnesses and structural fastening screws. The included paper template helps you mark and drill the necessary holes accurately.
Installation time varies depending on the existing lock, door structure, and whether additional drilling or mortise work is required. Replacing a lock with matching cutouts is generally much faster than retrofitting an older door.


 Store
Store